Your Cart is Empty
Free Shipping on All US Orders!
Menu
-
- Garden Flags
- House Flags
- Mailbox Covers
- House & Garden Accents
- Doormats
- Flag Sets
- Accessories
- Personalized Flags
- On Sale!
-
- 877-352-4707
- Login

Add description, images, menus and links to your mega menu
A column with no settings can be used as a spacer
Link to your collections, sales and even external links
Add up to five columns
Add description, images, menus and links to your mega menu
A column with no settings can be used as a spacer
Link to your collections, sales and even external links
Add up to five columns
How to Make a Paper Snowflake
January 07, 2019 2 min read

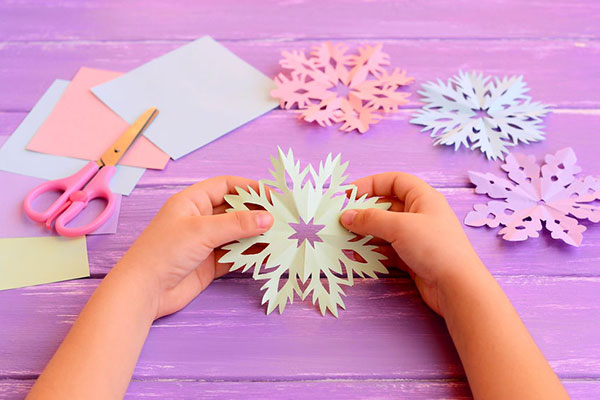
Winter time is here! Everybody cheer! There are snowmen over there! With snow angels everywhere! Some frosty fun might sound like a good idea to some but not everyone likes a chilly day. On the bright side, however, is that everyone young and old can enjoy the sense of winter with the traditional craft of making beautiful and one of a kind paper snowflakes! Here is a step by step guide on how to make this fun craft that will leave you singing let it snow!

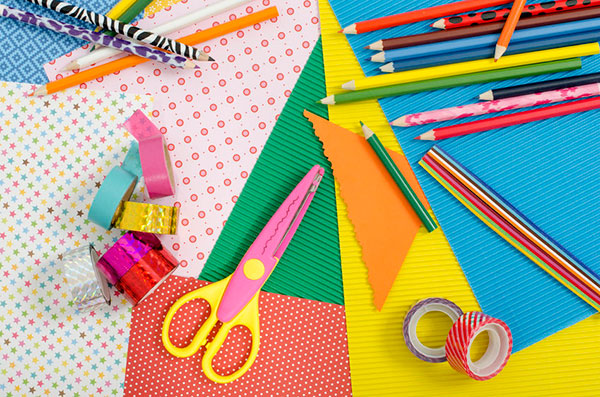
Step one. Choose your material. The usual material that you will need to have in order to make your paper snowflake is a square sheet of blank white paper and scissors. That’s all folks! Of course, paper snowflakes are an awesome craft due to the fact that you can easily make them as unique as you want them to be through the process of customization. Feel free to experiment with different coloured papers or you can even take it one snowshoe step further by trying different materials such as fabrics or doilies. I encourage you to even try using scissors that cut in zig zags and waves if they are within your mittens reach. Of course, it must be noted however that for your first steps in making your paper snowflake, your chosen material should be square shaped in order for your snowflake to be made correctly.

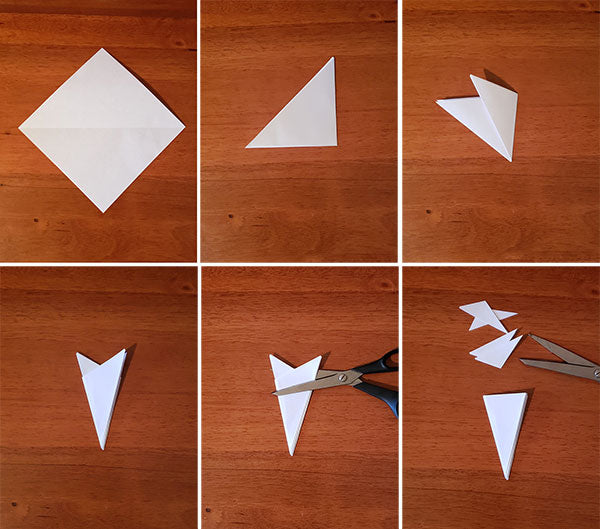
Step 2. Fold your selected material. Take your medium that you have selected in step 1 and hold it exactly in half from a diagonal perspective. Then proceed to fold your soon to be a snowflake in half again in a diagonal perspective. Make sure that the second fold is made without undoing the first fold.

Step 3. Cut out your snowflake. Now comes the fun part that everyone has been waiting so long for that icicles have started to form on their noses! Feel free to cut out pieces from your selected medium using your scissors. If you feel like it, you can map it out before you start with a pen or pencil. To remind you again, creativity and fun should be your top priorities and so feel free to test out different cuts. You can alter the overall shape of your paper snowflake by shaping it into a circle, square, triangle or any other shape that comes to mind. Likewise, you can make the holes inside your paper snowflake as big or as small as you see fit. Speaking about size, it can also be mentioned that your overall paper snowflake can be as big or as small as you desire. On a final note, don’t be afraid to test out cutting different shapes within You snowflake such as stars, hearts, diamonds and so much more. No two snowflakes are alike after all.

Leave a comment
Comments will be approved before showing up.
Subscribe
Sign up to get the latest on sales, new releases and more …
